Aligning the Print Head Position from Your Computer
Print head alignment corrects the installation positions of the print head and improves deviated colors and lines.
This machine supports two head alignment methods: automatic head alignment and manual head alignment.
The procedure for performing manual print head alignment is as follows:
 Print Head Alignment
Select Custom Settings from the pop-up menu on the Canon IJ Printer Utility
Switch head alignment to manual
Check the Align heads manually check box.
Apply the settings
Click Apply and when the confirmation message appears, click OK.
Select Test Print from the pop-up menu on the Canon IJ Printer Utility
Click the Print Head Alignment icon
A message is displayed.
Load paper in the machine
Load three sheets of A4 size or Letter size plain paper into the front tray.
Execute head alignment
Make sure that the machine is on and click Align Print Head.
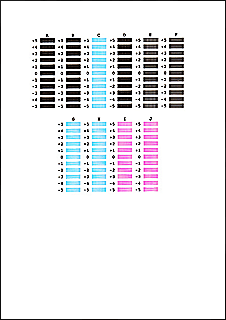
The first pattern is printed.Check the printed pattern
Enter the numbers of the patterns with the least amount of streaks in the associated boxes, and click OK.

 Note
Note- If it is difficult to pick the best pattern, pick the setting that produces the least noticeable vertical streaks.
(A) Least noticeable vertical streaks

(B) Most noticeable vertical streaks - If it is difficult to pick the best pattern, pick the setting that produces the least noticeable horizontal streaks.
(A) Least noticeable horizontal streaks

(B) Most noticeable horizontal streaks
- If it is difficult to pick the best pattern, pick the setting that produces the least noticeable vertical streaks.
Confirm the displayed message and click OK
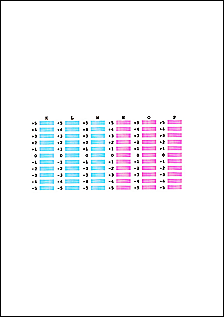
The second pattern is printed.
Check the printed pattern
Enter the numbers of the patterns with the least amount of streaks in the associated boxes, and click OK.

 Note
Note- If it is difficult to pick the best pattern, pick the setting that produces the least noticeable vertical streaks.
(A) Least noticeable vertical streaks

(B) Most noticeable vertical streaks
- If it is difficult to pick the best pattern, pick the setting that produces the least noticeable vertical streaks.
Confirm the displayed message and click OK
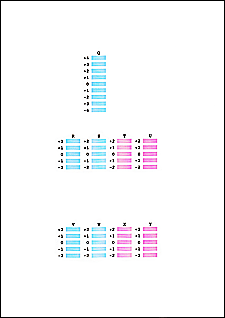
The third pattern is printed.
Check the printed pattern
Enter the numbers of the patterns with the least noticeable horizontal stripes in the associated boxes, and click OK.

 Note
Note- If it is difficult to pick the best pattern, pick the setting that produces the least noticeable horizontal stripes.
(A) Least noticeable horizontal stripes

(B) Most noticeable horizontal stripes
- If it is difficult to pick the best pattern, pick the setting that produces the least noticeable horizontal stripes.
 Note
Note
- After head alignment is completed, you can print and check the current setting. To do so, click the Print Head Alignment icon and when the message is displayed, click Print Alignment Value.

