
Easy Scanning with Auto Scan
You can scan easily by automatically detecting the item type.
![]() Important
Important
-
The following types of items may not be scanned correctly. In that case, adjust the cropping frames (selection boxes; scan areas) in the screen displayed by clicking Driver in the IJ Scan Utility main screen and scan again.
- Photos that have a whitish background
- Items printed on white paper, hand-written documents, business cards, etc.
- Thin items
- Thick items
-
Make sure that your scanner or printer is turned on.
-
Place items on the platen of your scanner or printer.
-
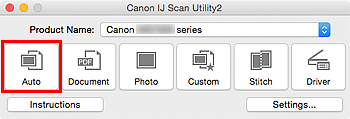
Click Auto.
Scanning starts.
![]() Note
Note
- Click Cancel to cancel the scan.
- To apply suitable corrections based on the item type, click Settings..., then select the Apply recommended image correction checkbox in the Settings (Auto Scan) dialog.
- Scanned images are saved in the folder set for Save in in the Settings (Auto Scan) dialog displayed by clicking Settings.... In the Settings (Auto Scan) dialog, you can also make advanced scan settings.
-
Refer to the following pages to scan by specifying the item type.
