
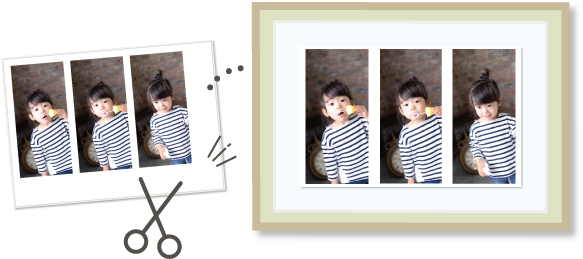
Printing by Specifying the Size
Print by specifying the photo size according to the size of your photo frame or other display area.
-
Click Custom Frame Size in the New screen.

The view switches to the Custom Frame Size screen.
-
Specify the paper size, paper orientation, photo size, and other settings, and then click Next.

The view switches to the Photo Locations screen.
-
Select the photo(s) you want to use for item.
The view switches to the Item edit screen.
-
Edit item according to preference.

 Note
Note- In Custom Frame Size, some editing functions are not available (e.g., text cannot be entered).
- Click Advanced... to switch to the Custom Frame Size screen for changing the paper size and photo size. For details, see Custom Frame Size Screen.
- To save the item being edited, click Save.
-
Click Next.
The view switches to the Print Settings screen.
-
Specify printer and paper to use, and other settings.

 Important
- The paper size cannot be changed.
-
Click Print.
