
If printed ruled lines are misaligned or print results are otherwise unsatisfactory, adjust the print head position.
 Note Note
|
You need to prepare: a sheet of A4 or Letter-sized plain paper (including recycled paper)*
* Be sure to use paper that is white and clean on both sides.
Make sure that the power is turned on.
Load a sheet of A4 or Letter-sized plain paper in the front tray.
Open the paper output tray gently.
Print the print head alignment sheet.
(1) Select  Setup on the HOME screen.
The setup menu screen will appear.
(2) Select  Maintenance, then press the OK button.
The Maintenance screen will appear.
(3) Select Auto head alignment, then press the OK button.
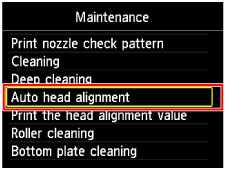
The confirmation screen will appear.
(4) Confirm the message, select Yes, then press the OK button.
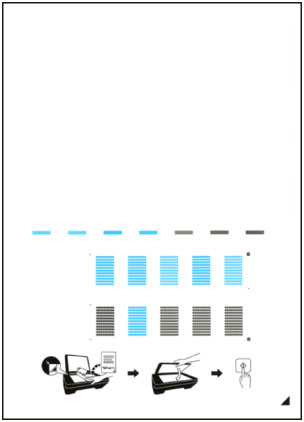
The print head alignment sheet will be printed.
 Important Important
|
(5) When the message "Did the patterns print correctly?" appears, confirm that the pattern is printed correctly, select Yes, then press the OK button.
Scan the print head alignment sheet to adjust the print head position.
(1) Confirm the message, then load the print head alignment sheet on the platen glass.
Load the print head alignment sheet WITH THE PRINTED SIDE FACING DOWN and align the mark  on the bottom right corner of the sheet with the alignment mark
  .
.
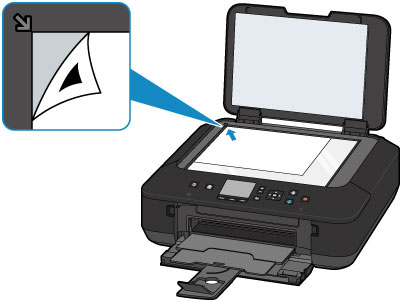
(2) Close the document cover gently, then press the OK button.
The machine starts scanning the print head alignment sheet, and the print head position will be adjusted automatically.
|
Important
|
(3) When the completion message appears, press the OK button.
The screen will return to the Maintenance screen.
Remove the print head alignment sheet on the platen glass.
|
Note
|
Page top |


