
Importing Media Information
Media information files downloaded from the Canon website and media information files exported from the Media Configuration Tool can be imported and applied to printers.
 Important
-
Do not attempt to print or turn the printer off while the program is communicating with the printer.
Do not add or edit media information on a printer from another computer while it is being added or edited.
-
We recommend backing up the media information in advance before adding or editing media information.
For how to back up media information, see "Back Up Base Printer Media Information" in "Copying Media Information from the Base Printer to Another Printer".
 Note
Note
-
You can load media information for each paper.
-
You can also import the media information of custom paper.
-
If the imported media information file of the custom paper contains calibration target information, the calibration target will also be registered in the printer.
-
Click
 (Add Media Information) in the Add/Save Media Information button group.
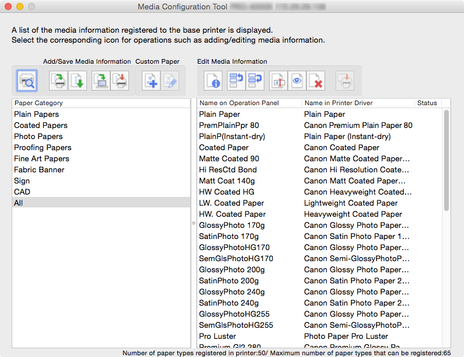
The Add Media Information dialog box appears.
-
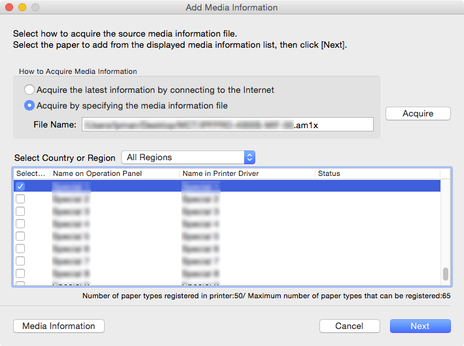
Select Acquire by specifying the media information file, and then click the Acquire button.

The Open dialog appears.
-
Select the media information file (.am1x file), and click the Open button.

The obtained media information appears.
-
Select the check box of the media information that you want to add from the displayed media information, and then click the Next button.
 Note
Note-
Paper whose Status is Registered in printer is paper that is already registered in the printer.
-
If you select your country or region in Select Country or Region, only the paper sold in your country or region appears.
-
If you select the media information and click the Media Information button, the Simple Paper Reference dialog box appears, allowing you to check the details of the selected media information.
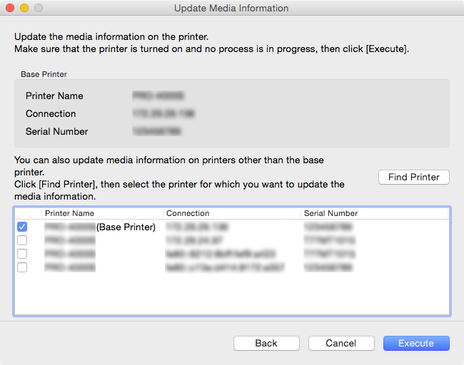
The Update Media Information dialog box appears.
-
-
From the displayed printers, select the check box of the printers for which you want to update media information at the same time as the base printer, and then click the Execute button.
 Note
Note-
If the printer you want to update is not displayed, verify the state of the printer and network, and then click the Find Printer button.
-
In addition to the base printer, the printers that are the same model as the base printer appear.
-
You cannot clear the check mark for the base printer.
-
-
Click the Yes button.
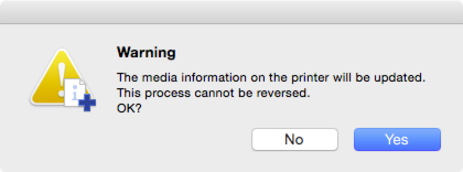
The Check Update Results dialog box appears.
-
Verify that
 mark appears to the left of the Printer Name, and then click the OK button.
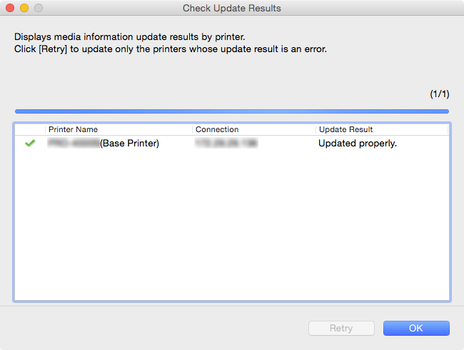 Note
Note-
Media information was not updated for printers with a
 mark displayed to the left of the Printer Name.
Verify the state of the printer and network, and click the Retry button.
Updating media information is executed again for printers with the
mark.
The media information is applied to the printer.
Important-
To apply the media information to the printer driver, you must update the media information in the printer driver.
For details, see "Updating Media Information in Printer Driver" for your model from the Home of the Online Manual.
-
