Printing with Easy Setup
This section describes the simple procedure for setting the Quick Setup tab so that you can carry out appropriate printing on this printer.
Load paper on the printer
Open the printer driver setup window
Select a frequently used profile
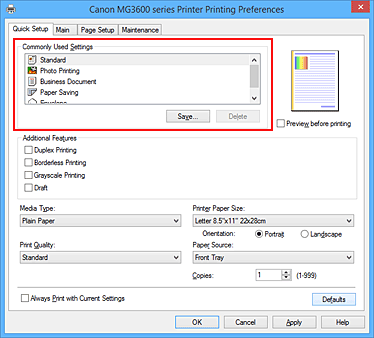
In Commonly Used Settings on the Quick Setup tab, select a printing profile suited for the purpose.
When you select a printing profile, the Additional Features, Media Type, and Printer Paper Size settings are automatically switched to the values that were preset.
Select the print quality
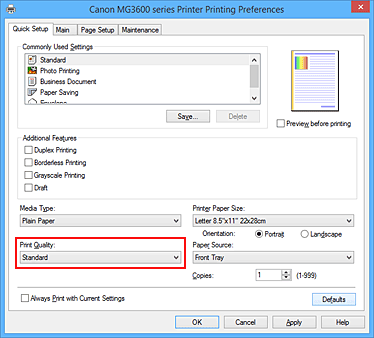
For Print Quality, select High, Standard, or Draft according to your purpose.

 Important
- The print quality settings that can be selected may differ depending on a printing profile.
Complete the setup
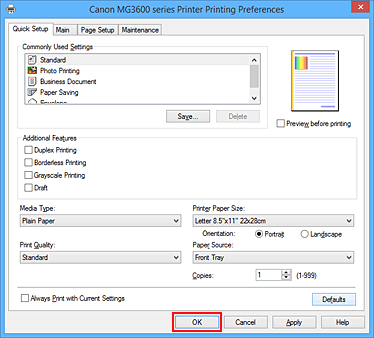
Click OK.
When you execute print, the document is printed with settings that match your purpose.
 Important
- When you select the Always Print with Current Settings check box, all settings specified on the Quick Setup, Main, and Page Setup tabs are saved, and you can print with the same settings from the next time as well.
- In the Commonly Used Settings window, click Save... to register the specified settings.


