
Wired Connection
Before Starting Wired Connection Setup
-
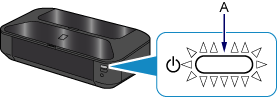
Make sure that the printer is turned on.
If the power is on, the (white) POWER lamp (A) will be lit.
(Appears in a new window)
-
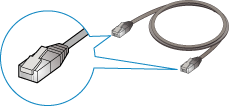
You will need an Ethernet cable (sold separately).
-
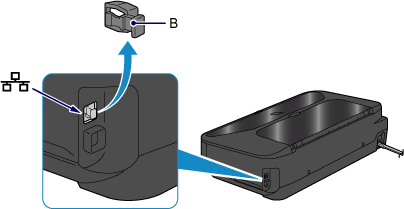
Remove the Cap (B) from the upper port located on the right side at the back of the printer.
-
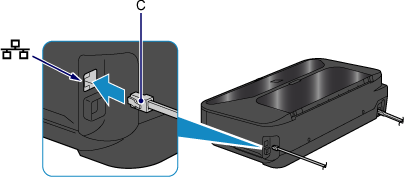
Connect the printer and a network device (router, etc.) with an Ethernet cable (C).
Do not connect it to the USB port.
-
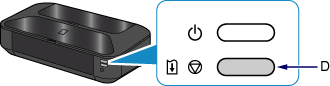
Hold down the RESUME/CANCEL button (D) on the printer until the (white) POWER lamp flashes 11 times, then release the RESUME/CANCEL button after the eleventh flash.
The wired connection setup is complete.
The network connection setup is now complete.

