
Adding Custom Paper
In the Media Configuration Tool, paper created by customizing existing media information is called custom paper.
To improve the print quality and feeding of paper other than Canon genuine paper, add and edit custom paper.
To add a new custom paper to a printer, first select the media information used as its basis.
Next, specify the name of the paper, and then add it to the printer as custom paper.
After adding custom paper to the printer, edit the media information of the custom paper to obtain a high quality print result.
For details on the procedure for editing media information for custom paper, see "Editing Custom Paper."
 Important
-
Canon offers absolutely no guarantees regarding the print quality or paper feed properties of customer paper.
-
Do not attempt to print or turn the printer off while the program is communicating with the printer.
Do not add or edit media information on a printer from another computer while it is being added or edited.
-
We recommend backing up the media information in advance before adding or editing media information.
For how to back up media information, see "Back Up Base Printer Media Information" in "Copying Media Information from the Base Printer to Another Printer".
-
The paper that can be used as the basis for custom paper is limited.
When adding custom paper, verify the paper specifications for paper that can be added by referring to the "Media Types You Can Use" and "Paper Settings on the Printer Driver and the Printer (Media Types)" for your model from the Home of the Online Manual.
-
Click
 (Create Custom Paper) in the Custom Paper button group.
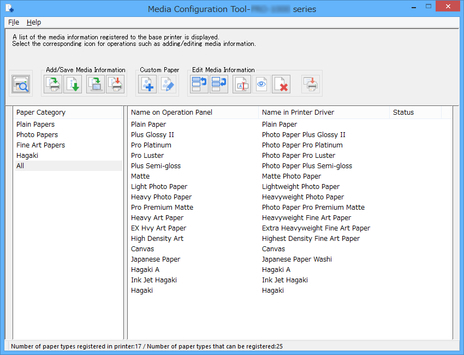
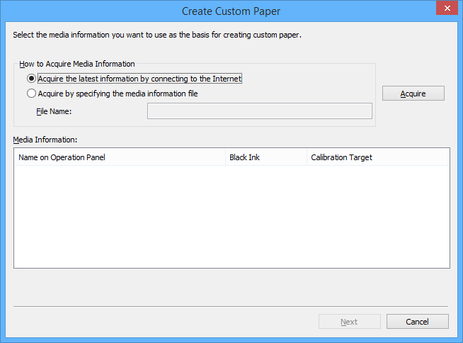
The Create Custom Paper dialog box appears.
-
Select Acquire the latest information by connecting to the Internet, and then click the Acquire button.
 Important
-
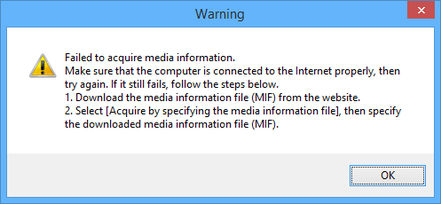
If the following message appears, the media information file cannot be downloaded from the Internet.
Obtain the media information file from the Canon website using a computer connected to the Internet.
Specify the media information file that you obtained by selecting Acquire by specifying the media information file, clicking the Acquire button, and specifying the file in the Open dialog box.
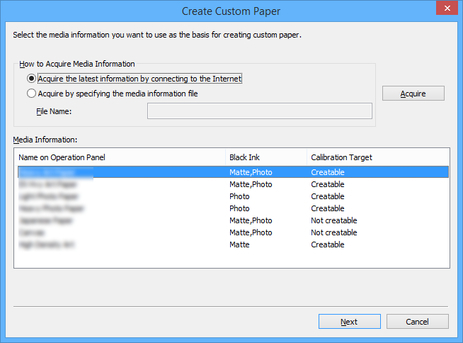
The possible media information for the custom paper appears.
-
-
Select the media information that will be the basis for custom paper, and then click the Next button.
 Important
-
Select the material and thickness that you think are the closest to the custom paper you are adding.
 Note
Note-
The calibration target for executing color calibration cannot be created for custom paper which is added using a base paper where Not creatable is displayed in Calibration Target.
-
-
Click the OK button.
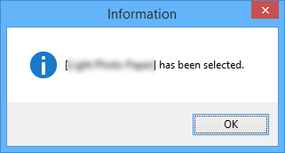
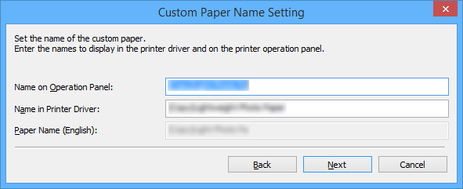
The Custom Paper Name Setting dialog box appears.
-
Enter an arbitrary name to display in the printer control panel and printer driver, and then click the Next button.
 Note
Note-
Depending on the selected base paper, you may not be able to enter the Name in Printer Driver and the custom paper you created will not be added to the printer driver. When using custom paper with the printer driver, change the base paper to another paper, and then create the custom paper.
-
The characters that can be entered for Name in Printer Driver and Name on Operation Panel are stated below.
alphanumeric, space, "-", ".", "_", "(", ")", "+", "%", ",", "/", ”[“, “]”
-
For Name on Operation Panel, up to 10 double-byte characters and up to 20 single-byte characters can be entered.
-
For Name in Printer Driver, up to 32 characters or 80 bytes may be entered.
-
For Paper Name (English) up to 20 single-byte characters can be entered.
The Update Media Information dialog box appears.
-
-
From the displayed printers, select the printers that you want to add custom paper to at the same time as the base printer, and then click the Execute button.
 Note
Note-
If the printer you want to add is not displayed, verify the state of the printer and network, and then click the Find Printer button.
-
In addition to the base printer, the printers that are the same model as the base printer appear.
-
You cannot clear the check mark for the base printer.
-
-
Click the Yes button.
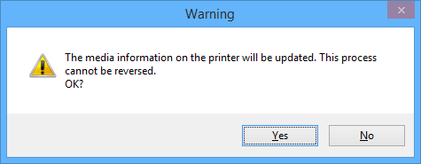
The Check Update Results dialog box appears.
-
Verify that
 mark appears to the left of the Printer Name, and then click the OK button.
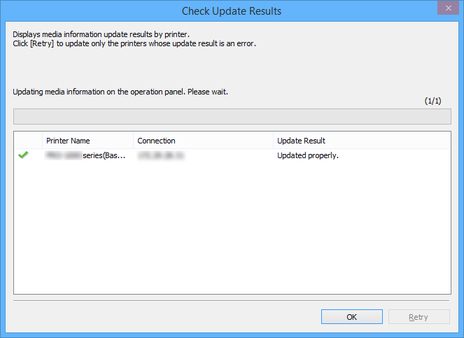 Note
Note-
Custom paper was not added for printers with a
 mark displayed to the left of the Printer Name.
Verify the state of the printer and network, and click the Retry button.
Custom paper will be added again for printers with the
mark.
The custom paper is added to the printer.
Important-
After adding custom paper, we recommend adjusting the position of the printhead for the custom paper that you added.
For how to adjust the printhead position, see "Adjustments for Better Print Quality" for your model from the Home of the Online Manual.
Note-
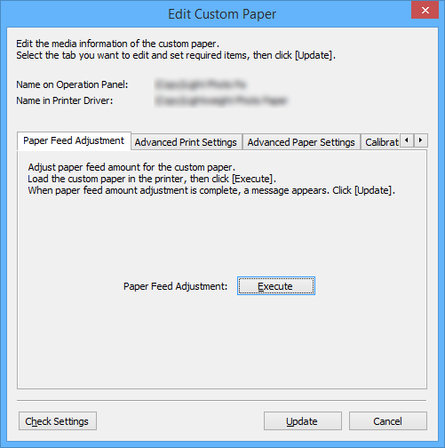
After that, the custom paper you added must be edited. For details on the procedure for editing custom paper, see "Editing Custom Paper."
To edit it immediately, click the Yes button.

Click the Yes button to display the Edit Custom Paper dialog box. Perform the steps from step 3 in "Editing Custom Paper".
-
