Connection via Standard setup
-
Select Standard setup.
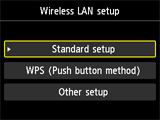
-
Press the OK button.
-
Select your access point, then press the OK button.
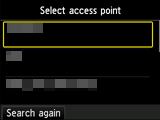
If another screen appears, refer to "Troubleshooting."
-
One of the screens below will be displayed on the printer.
If Connected to the access point. appears on the printer, the network does not require a password. Go to step 10 and proceed with the setup.
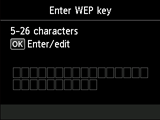
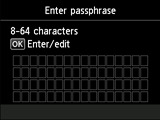
If another screen appears, refer to "Troubleshooting."
-
Press the OK button.
-
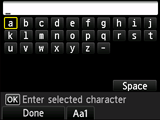
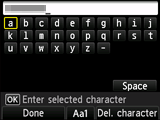
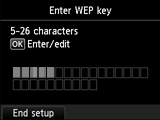
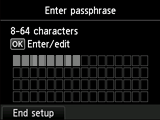
Enter the network password (WEP key or passphrase).
Character entry is case-sensitive so be sure to confirm.
If you don't know the network password for your access point, refer to the manual supplied with the access point or contact its manufacturer.
(Appears in a new window)
-
Press the left Function button.
-
Make sure that the network password is correct.
Character entry is case-sensitive.
-
Press the left Function button.
-
When the screen below appears, press the OK button.
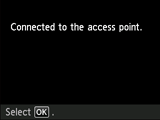

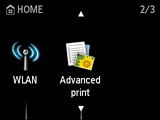
If another screen appears, refer to "Troubleshooting."
The network connection setup is now complete.


